
Want to give something truly personal – a chopping board with a name, a notebook with a dedication or a box with your company logo? With the AMADEA online engraving designer you can create your own wood engraving design in a few minutes – choose a product, add text or a logo, adjust the layout and download the finished artwork for our team. In this guide I will take you through the whole process step by step.
Why design your engraving in the AMADEA online designer
Engraving wooden chopping boards, notebooks or wooden gift boxes is one of the nicest ways to turn an ordinary product into an original gift. In the past it meant complicated arrangements by e-mail, sending photos on WhatsApp and haggling over sizes. The AMADEA online designer simplifies the process – you can see straight away what the result will look like and play with the layout exactly as you need.
The designer works directly with our range of products made in the Czech Republic and offers a realistic preview of the engraving (including a burnt-wood effect). Whether you are preparing a gift for grandma's eightieth birthday, a corporate gift for clients or wedding decorations for guests, it will save you hours of time.
🌳 Want to design your own engraving right now? The AMADEA online designer is free, needs no registration and works on both computer and mobile. Choose a product and you'll be done in a few minutes.
Open the engraving designerWhat you will need before you start
Before you start designing, I recommend preparing a few things in advance so the work flows smoothly. It helps to have an idea of the text you want engraved – a name, a date, a dedication or a short quote (maximum 80 characters). If you want to burn a logo, photo or your own graphic into the wood, prepare an image file – ideally SVG, PNG with a transparent background or a high-resolution JPG. Finally, decide which type of product you want engraved – a kitchen chopping board, a notebook, a tray or a decoration. The designer runs in your browser without installation, so Chrome, Firefox, Safari or Edge is all you need.
How to design an engraving step by step
Step 1: Choose a wooden product
The designer opens with an overview of the products we engrave – from serving boards and wooden notebooks to heart-shaped decorations. Click on the one you like. Under each product you will find a "View product" link – if you want to check the dimensions, type of wood or more photos, click it and the detail page opens in a new window.
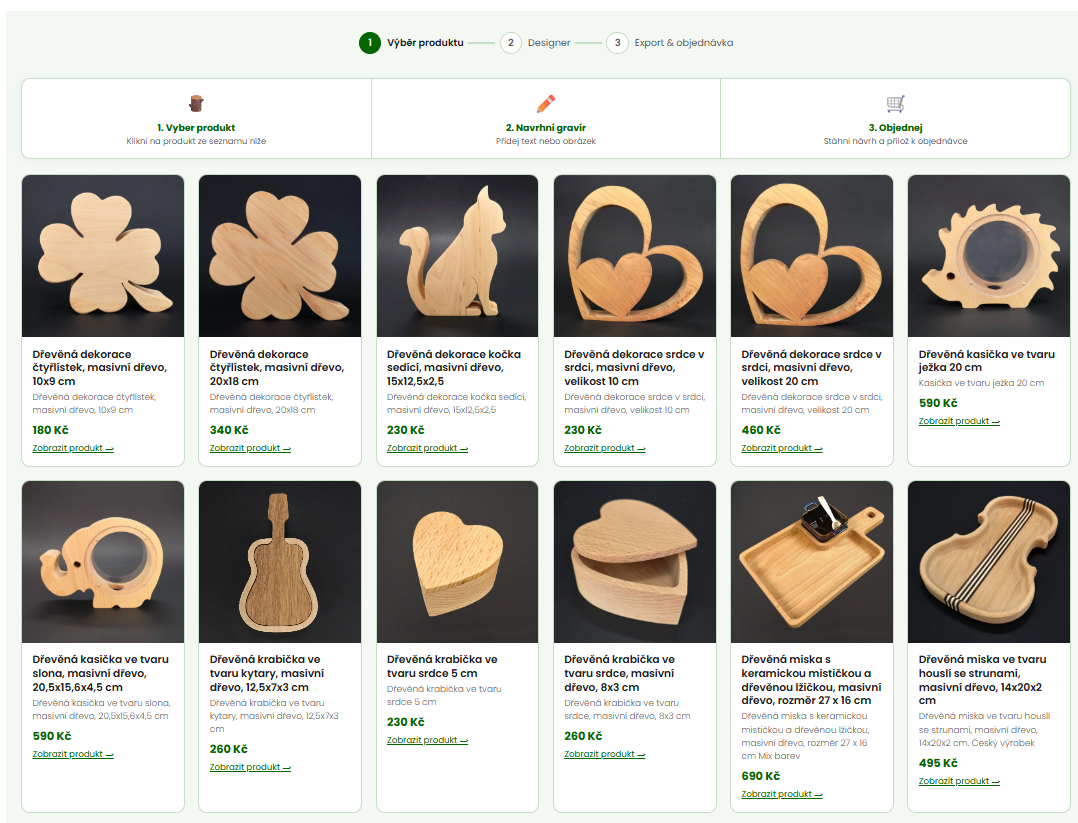
💡 Tip: The most popular choice for weddings and anniversaries is heart- or guitar-shaped boards, while A5 wooden notebooks are favourites for corporate gifts. For christenings and children's anniversaries, choose small wooden boxes – a name and date stand out beautifully on them.
Step 2: Write your text and choose a font
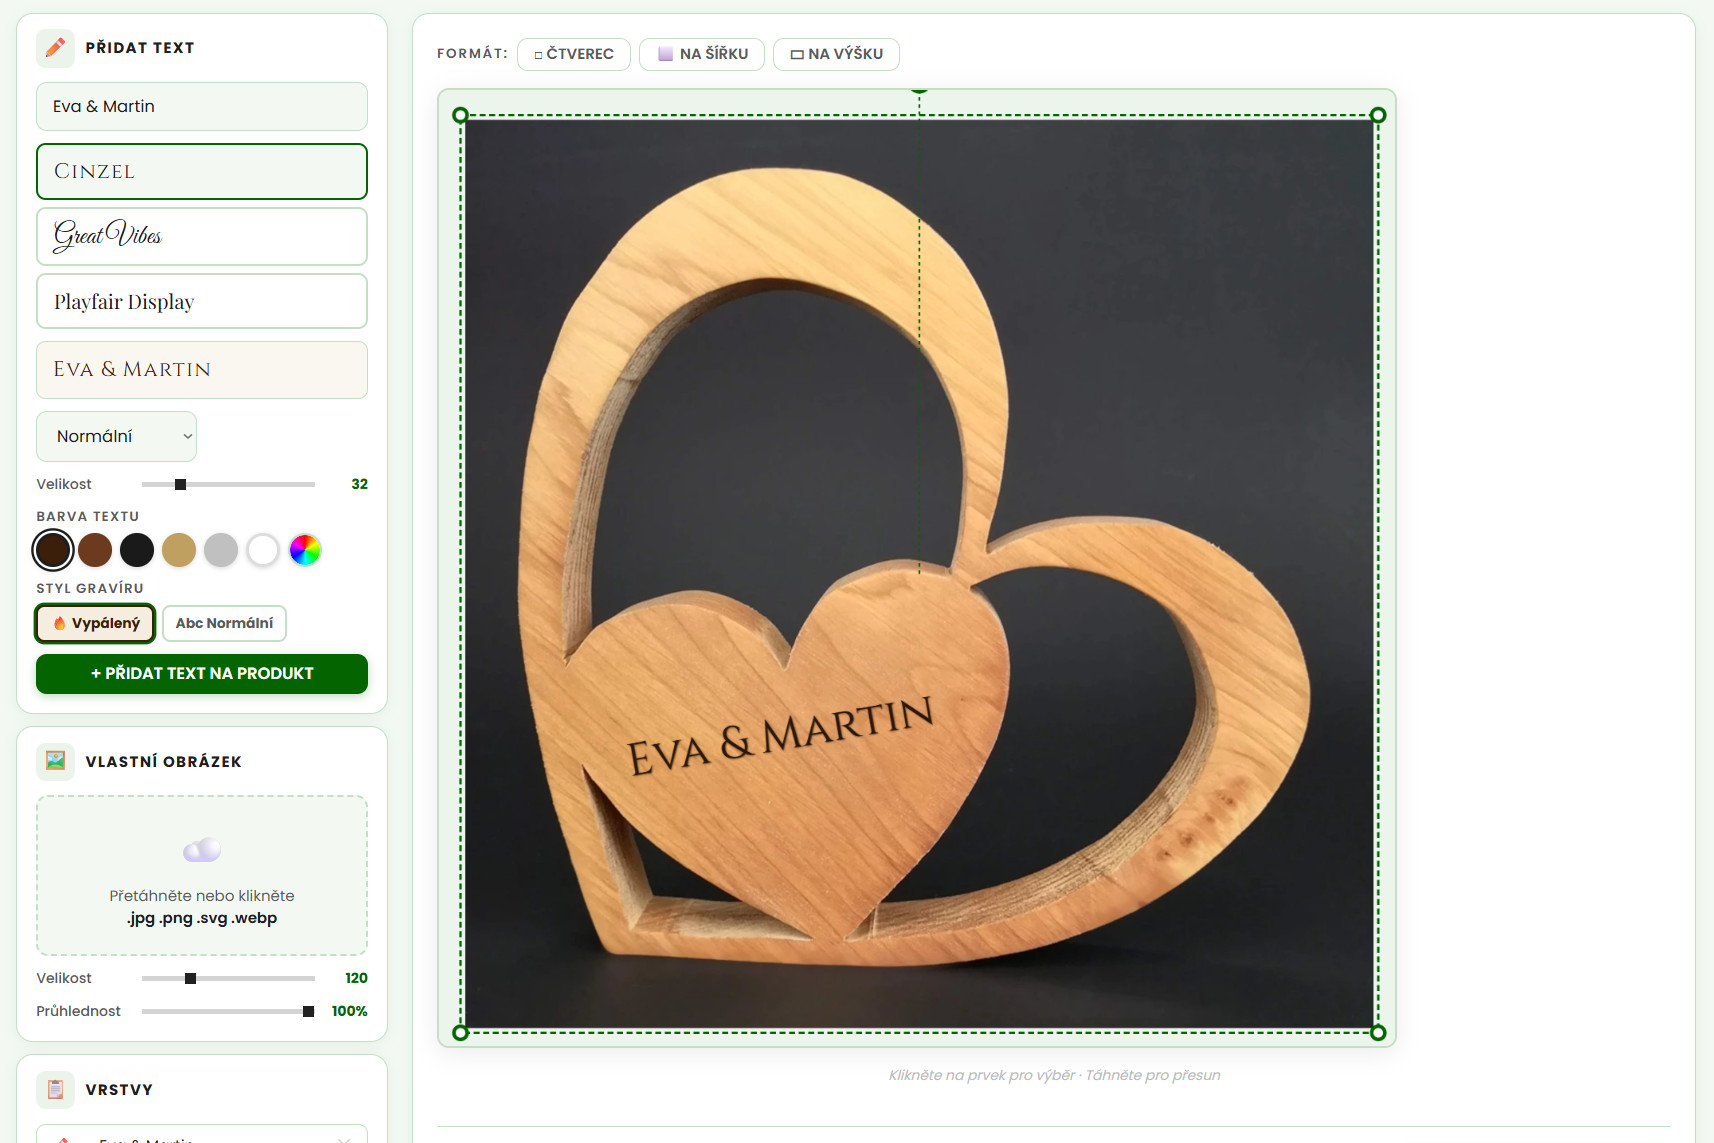
After clicking the button to continue to the designer, a canvas with your chosen product opens. In the left panel you will find the "Add text" section – type in what you want engraved. Below the text field you will see three available fonts: Cinzel (elegant serif, a classic for weddings and anniversaries), Great Vibes (decorative script, ideal for romantic dedications) and Playfair Display (modern serif, works very well for corporate use). Click the one that suits your theme.
You can also set the font size with a slider (10–120 points), the style (normal, italic, bold) and the engraving style – "Burnt" simulates the real look of burnt wood with a light brown tint and shadow, while "Normal" shows clean text without the effect. When you are happy, click "+ Add text to product" and the text appears on the canvas.
Step 3: Upload your own logo or image
If you want to add a logo, monogram or illustration to the engraving, use the "Custom image" section. Click (or drag and drop) to upload a file – the designer supports JPG, PNG, SVG and WebP. Once uploaded, the image is placed on the canvas and two sliders let you adjust its size and opacity (useful, for example, for a subtle background beneath text).
💡 Tip for logos: The cleanest engraving comes from a vector SVG or a single-colour PNG with a transparent background. If you only have a photo or a scan, that's fine – attach it to your order later in the highest possible resolution and our team will convert it into artwork for the laser before production.
Step 4: Adjust the layout – move, rotate, resize
You can move finished elements (text and images) freely around the canvas with your mouse, or with your finger on a mobile. When you click an element, a green dashed frame with four corner handles appears around it – use them to enlarge or shrink it. Above the element you will see a circle with the ↺ symbol – drag it to rotate the element to any angle. You can swap the order of layers with the "Up" and "Down" buttons in the "Layers" section.
Above the canvas you will find buttons for changing the canvas format – square, landscape and portrait. Choose the one that matches the shape of your product (usually landscape for boards and portrait for notebooks).
Step 5: Download the design and place your order
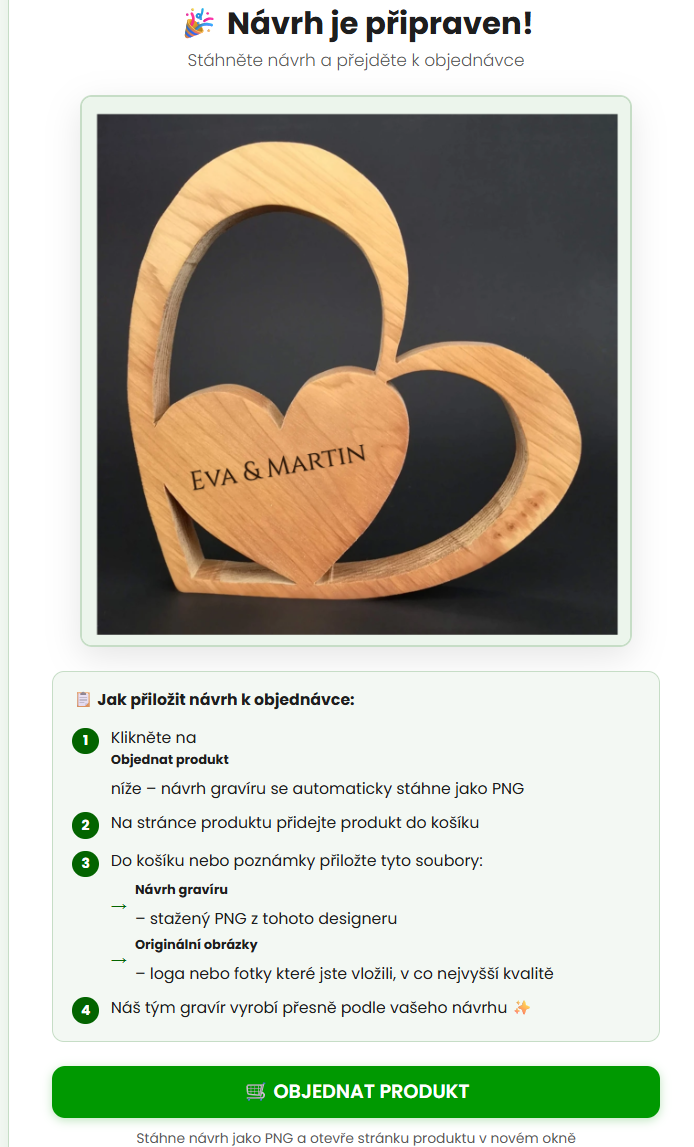
When the design is ready, continue to the export. You will see the final preview and three buttons. The main one is the green "Order product" button – it downloads a PNG of your design and at the same time opens the page of the selected product in a new window. On the product page, add it to your basket and attach the downloaded PNG plus the original logo file in the highest possible quality in the basket or in the order note. If you just want to save the design without ordering, use the buttons to download only a PNG or only a JPG.
The most common mistakes to avoid
⚠️ The text is too small and too close to the edge. An engraving needs a little breathing space around it – at least 1 cm from the edge of the board or notebook. If you stretch the text right to the edges, in reality it can look cramped.
⚠️ The uploaded logo is blurry or low-resolution. What you see in the designer is what the laser sees – if the source is poor, the engraving will be jagged. Always upload the highest quality available, ideally SVG.
⚠️ Too many elements at once. With engraving, less is more. A short text and one symbol rather than three lines and two logos – wood tolerates clutter no better than paper.
⚠️ You forgot to attach the original logo file. The PNG from the designer serves as a visual guide, but for production we need the original in high quality. Always attach it in the basket or the order note.
Products the designer works with
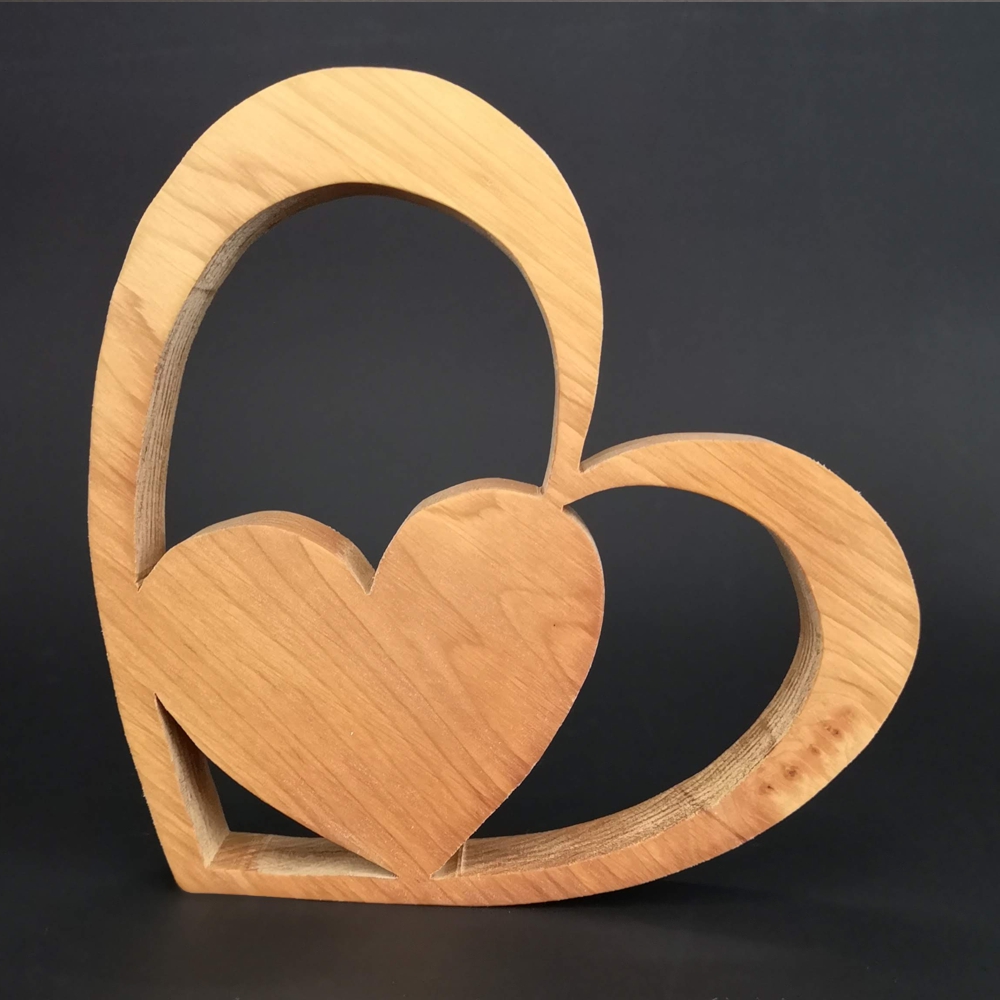
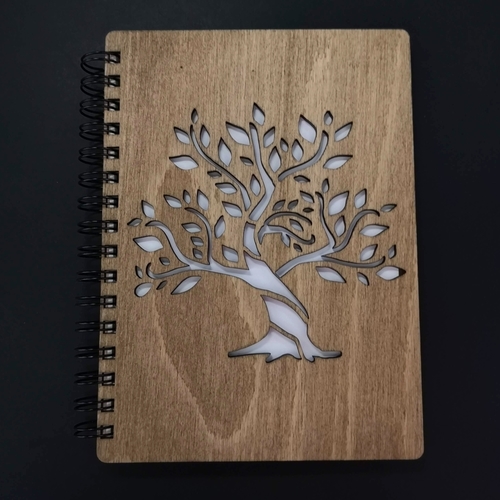
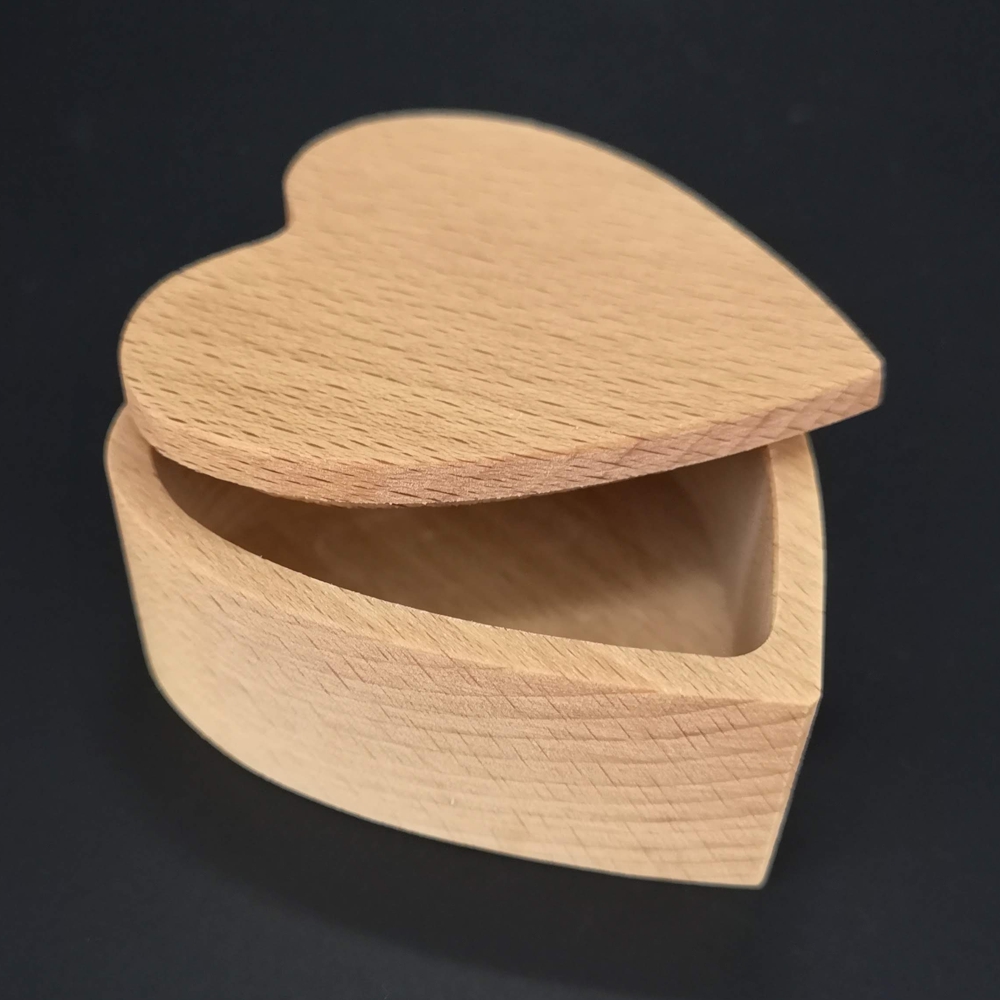
The designer works with our whole range of engravable products – below are three popular picks straight from the designer. If you want to see all the options, browse our gifts with your own motif section or our range for businesses.
Frequently asked questions about the engraving designer
Is the AMADEA online engraving designer free?
Yes, using the designer itself is completely free and requires no registration. You only pay for the chosen wooden product – text engraving is usually included in the price of the product or available for a small surcharge depending on the size of the motif. We will confirm the exact price after you send your order.
In what format should I upload a logo for engraving?
A vector SVG or a PNG with a transparent background and the highest possible resolution is ideal. JPG and WebP can also be used, but for a clean engraving we recommend single-colour, high-contrast graphics. If you only have a small version of your logo or a scan, attach it to your order and our team will adjust it before production.
Does the designer work on mobiles and tablets?
Yes, the designer is fully responsive – it works on computers, tablets and phones. On a mobile you control the elements by touch (dragging, resizing by the corners). For more complex designs with several elements, however, I recommend using a computer, where you have a larger area and more precise control.
What if the engraving looks different on the canvas than in reality?
The preview in the designer is for guidance – the real engraving is burnt into the wood and has a dark brown to black tone that varies with the type of wood (beech, oak, alder). That is why you should always attach the original logo file in the highest possible quality, and we will send you a final visualisation for approval before production.
Which AMADEA products can be engraved?
We offer engraving on most of our solid-wood products – serving and kitchen boards, wooden notebooks, gift boxes, heart-shaped decorations, money boxes, clocks and trays. You will find the full list of engravable products directly in the online designer at AMADEA.
🎁 Thinking of a gift no one else will have? Open the AMADEA online engraving designer, choose a wooden product from our Czech workshop and in ten minutes you will have a finished design ready to order.
Try the designer for freeAuthor: Martin Portych – specialist in wooden products, gift advice and shop content
Editorial policy: Our content is based on the day-to-day practice of the AMADEA shop, the real needs of our customers and a commitment to clear, useful and trustworthy information.