
A good wooden chopping board can last for decades – but only if you know how to care for a wooden chopping board from day one. Most boards don't end their lives through wear but because of two mistakes: soaking in the sink and skipped oiling. This guide solves both in a few minutes a month.
Before you start. Get ready warm water with a drop of ordinary washing-up liquid, a brush with stiff bristles, a cotton tea towel and a food-safe wood oil. Coarse salt and a lemon are handy for removing odours, and 220-grit sandpaper for restoring a roughened surface. None of this costs more than one good board, and it will last you for years.
Caring for a wooden chopping board step by step
Looking after wood in the kitchen comes down to one rule from which everything else follows: wood can handle water, but it can't handle lying in it. Brief contact won't harm it; long soaking will. The following five steps are nothing complicated – you can do the first two every time you cook, the other three once in a while.

1. Wash the board straight after use
Before we get to the washing itself, a note on why speed matters. Wood is a porous material and its fibres work a bit like a bundle of drinking straws. A fresh cut opens them and liquid is drawn into them – fastest in the first few minutes. The rest of this guide follows from that: whatever you remove straight away, you won't have to deal with later.
Don't leave the board waiting for the evening washing-up. Juices from meat, onions and berries have plenty of time to penetrate deeper into the fibres within an hour. Rinse the surface with warm water and a drop of washing-up liquid and brush it along the grain, not across it – brushing across the grain makes the wood unnecessarily fuzzy.
For raw meat and fish, use lukewarm rather than boiling water. High temperatures fix proteins into the surface, making them harder to remove. And above all: take the board out of the sink immediately after washing. Ten minutes in a puddle of water does more damage than a whole day of chopping.
2. Dry it and stand it upright
Wipe both sides with a tea towel – both, even if you only cut on one. Wood absorbs and releases moisture through its whole volume, and if one side dries faster than the other, the board will cup like a bowl.
Then stand it on its edge so that air can flow around it on all sides. Leaning it against the tiles behind the sink is enough. What not to do: lay a wet board flat on the worktop, or dry it on a radiator or in the oven. Rapid drying from one side is the most common cause of cracks.
Tip from the workshop: Does your board have a hole for hanging? Use it. A hanging board dries evenly and takes up no space on the worktop. On heart- or guitar-shaped serving boards, the hole is also part of the design.
🌳 Looking for an honest board made from Czech wood? In our sheltered workshop we make kitchen and serving boards from beech, oak and maple – by hand, piece by piece.
Browse wooden chopping boards3. Oil the surface
Oil is the one thing that makes a real difference between a board that lasts two years and one that lasts twenty. It creates a barrier in the surface layers that slows the penetration of water, food juices and odours. Without it, the wood soaks up everything you cut on it.
The method is simple. Apply a thin layer of food-safe oil to a dry, clean board – with a cloth, not a sponge. Spread it over the whole surface, including the edges and end grain, because the end grain absorbs the most. Let it soak in for an hour, ideally overnight, and then wipe off the excess thoroughly with a dry cloth. The board should be silky matt, not sticky.
A new board needs oil more often at first: once a week for the first month, until the fibres are saturated. After that, once every month to six weeks is enough. When exactly? Put a drop of water on the board. If it stays as a bead, the protection is holding. If it spreads and the wood underneath darkens, it is time for oil. You will find suitable products among our accessories for wooden products.
4. Remove odours and stains
Before you reach for home remedies, one note. A coloured stain and a smell are two different things and are dealt with differently. A stain sits in the surface layer and can be sanded away; a smell is bound deep in the fibres, and sanding it makes no sense. The following method works on both, but with old stains expect that they won't disappear completely – and that this doesn't harm the board in any way.
Garlic, onion, fish and caraway – four smells that bite into wood the fastest. The solution is cheap and it works: sprinkle the board with a layer of coarse salt and scrub it with half a lemon, held cut side down. The salt acts as a gentle abrasive and draws out moisture together with the odour compounds, while the acid from the lemon neutralises the rest.
Leave the mixture to work for ten minutes, then wipe it off and rinse with lukewarm water. Once the board is dry, oil it – salt and lemon also remove part of the original oil layer. The same method works on dark stains from beetroot or blueberries, though you may have to repeat it.
5. Restore a roughened surface
After a few years the board starts to feel rough to the touch, the cuts are more visible and the oil soaks in unevenly. That is not the end – it is just a signal that it is time for a renovation, something you can't do with plastic.
Sand the surface with 180 to 220-grit sandpaper, always along the grain and with even pressure. Don't forget the edges, where the wood usually frays the most. Carefully wipe off the dust with a slightly damp cloth, let the board dry and apply two coats of oil a few hours apart. The board will look like new, because in essence it is new – you have only removed tenths of a millimetre.
Five mistakes that will kill your board. Don't put it in the dishwasher – the combination of long soaking, temperatures of around seventy degrees and aggressive chemicals is irreversible for wood. Don't leave it lying in the sink or on a wet worktop. Don't dry it on a radiator, by the oven or in direct sunlight. Don't use a scouring pad or abrasive cleaning powders, which break up the fibres. And never reach for ordinary cooking oil from the pantry – sunflower and olive oil go rancid on wood and the board starts to smell.
How often to do what
To keep things clear, here is the whole maintenance cycle in one table. The frequencies apply to an ordinary household where the board is used daily.
| Task | How often | Time needed |
|---|---|---|
| Washing and drying | After every use | 1 minute |
| Drying upright | After every wash | No effort |
| Oiling – new board | Once a week for the first month | 5 minutes |
| Oiling – normal use | Once every 4 to 6 weeks | 5 minutes |
| Salt and lemon | As needed | 15 minutes |
| Sanding and restoring | Once every 2 to 5 years | 30 minutes |
What you will need
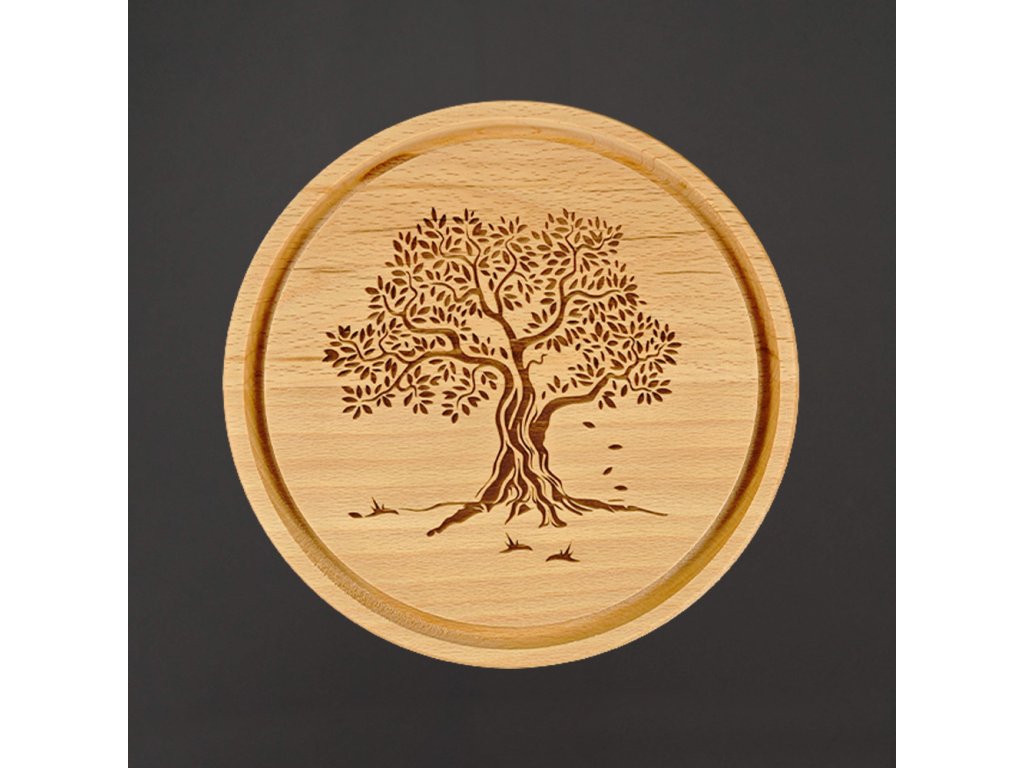
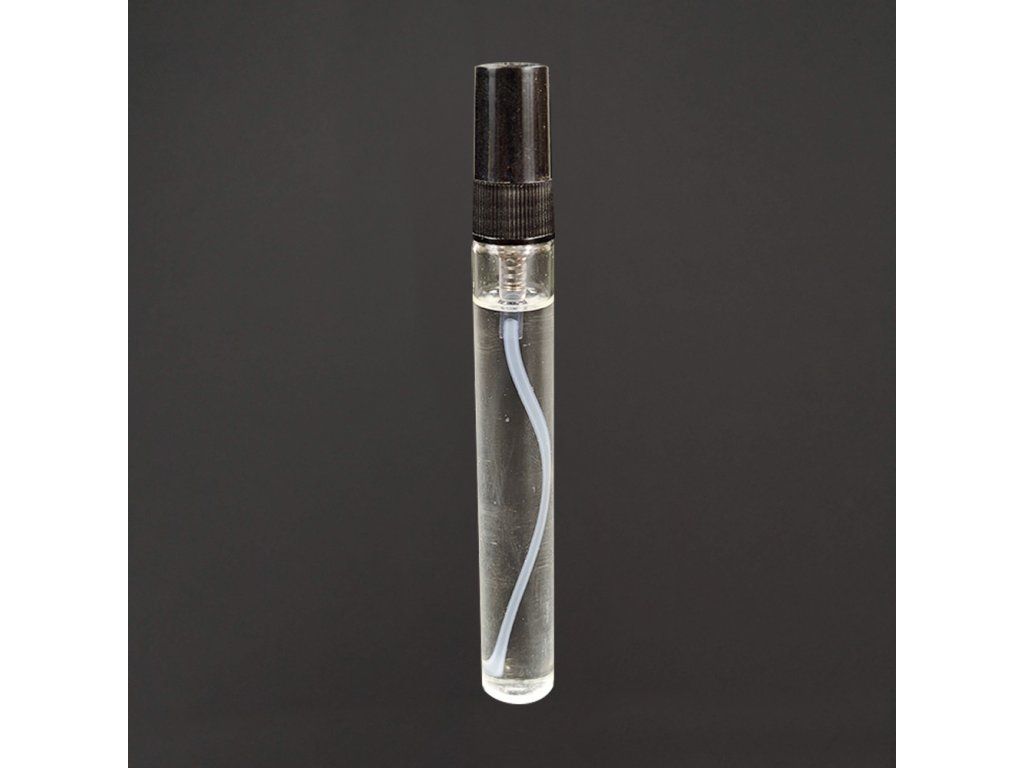
If you are looking for a new board or topping up your maintenance kit, here are three categories from our workshop that relate directly to this guide.

Frequently asked questions
How often should I oil a wooden chopping board?
Oil a new board once a week for the first month. After that, once every month to six weeks is enough. A drop of water is a reliable guide: if it spreads and darkens the wood instead of standing as a bead, it is time for oil.
Can a wooden chopping board go in the dishwasher?
No. The combination of long soaking, temperatures of around seventy degrees and aggressive chemicals will damage the board irreversibly. The wood absorbs water, shrinks unevenly as it dries, and the surface cracks or the board warps. Washing by hand takes half a minute and extends its life by years.
Is a wooden chopping board more hygienic than a plastic one?
Studies comparing the two materials find that bacteria survive less well on dry wood than on plastic, but the mechanism is not clearly explained and the results vary with the type of wood. For both materials, quick washing and thorough drying are what matter – neither is a guarantee of hygiene in itself. We recommend a dedicated board for raw meat.
How do I remove the smell of garlic or fish from a board?
Sprinkle the surface with coarse salt and scrub it with half a lemon. The salt acts as a gentle abrasive and the acid from the lemon neutralises odour compounds. After ten minutes, rinse with lukewarm water and let the board dry standing upright.
Can I use the same board for meat and vegetables?
It is more practical to have one board reserved for raw meat and another for vegetables, bread and cheese. If you use just one, wash it with warm water and washing-up liquid between ingredients. Many households solve this with two boards of different sizes.
What chopping boards can I find at AMADEA?
In our sheltered workshop we make kitchen and serving boards from Czech beech, oak and maple, including shaped versions and pieces that can be engraved. You can complement them with more kitchen equipment made from the same material.
🌳 A board that will outlast your kitchen. Handmade boards from native wood species, care oils and the option of engraving – all in one place.
Go to Kitchen and DiningAuthor: Martin Portych – specialist in wooden products, gift advice and shop content
Editorial policy: Our content is based on the day-to-day practice of the AMADEA shop, the real needs of our customers and a commitment to clear, useful and trustworthy information.