
The end of August is the high point for a Czech herb garden – the herbs are at their most aromatic and still have time to dry before the September mists arrive. If you know how to dry herbs properly, they will add fragrance to your tea and soup all winter. If you don't, within three months they will end up as scentless hay.
Before you start. You will need sharp garden scissors, string for tying bunches and a place that is dark, airy and dry – a loft, a storeroom, a garage or an empty pantry. For storage, prepare jars or containers with lids and paper bags. Expect the whole drying process to take about a week to ten days, longer for fleshier herbs. The active work is about an hour; the rest is waiting.
Drying herbs step by step
The whole process rests on one principle: get the water out of the plant as quickly as possible, but without heat or light. Water is what causes mould. Heat and light, on the other hand, break down the essential oils – exactly what we dry herbs for. The following five steps are just the practical application of that sentence.
1. Harvest in the morning in dry weather
The best time to harvest is between nine and eleven in the morning – the dew has dried, but the sun hasn't yet had time to dry the plant out and evaporate its essential oils. Harvest in clear weather, ideally after several days without rain.
For leafy herbs such as mint, lemon balm or basil, cut whole stems about five centimetres above the ground so that the plant regrows. For thyme and oregano, take only the top third with the soft shoots – the woody parts only prolong drying and add nothing to the flavour.
If you grow herbs in planters and flower pots on a balcony, the same rules apply – just bear in mind that plants in containers tend to be somewhat smaller, so spread the harvest over several sessions.
2. Sort, but don't wash
Sort the harvest by variety while you are still outside. Mixed herbs are hard to sort, and once dried they are much harder to tell apart than now – dried mint and lemon balm look more alike than you would expect.
Straight after harvesting, go through the crop and discard damaged, yellowed and spotted leaves. A single rotting leaf can start mould in a bunch that then destroys everything around it.
A key rule: don't wash herbs before drying unless they are really muddy. Water prolongs drying by several days, and that delay is often the reason for failure. If you do have to rinse them, do it briefly and dry the plants carefully in a tea towel before tying them.
🌿 Growing herbs on a balcony or windowsill? Wooden planters and flower pots made from native wood breathe better than plastic – and the plants benefit.
Browse planters and flower pots3. Tie into loose bunches
Make bunches about two centimetres in diameter – roughly what your thumb and index finger can encircle. Tie them with string at the base of the stems, but leave gaps between the individual stems so that air can circulate.
The most common beginner's mistake is making the bunch too thick. Air then can't reach the middle, the material sweats and goes mouldy while the outside looks perfectly fine. Better to make more, smaller bunches.
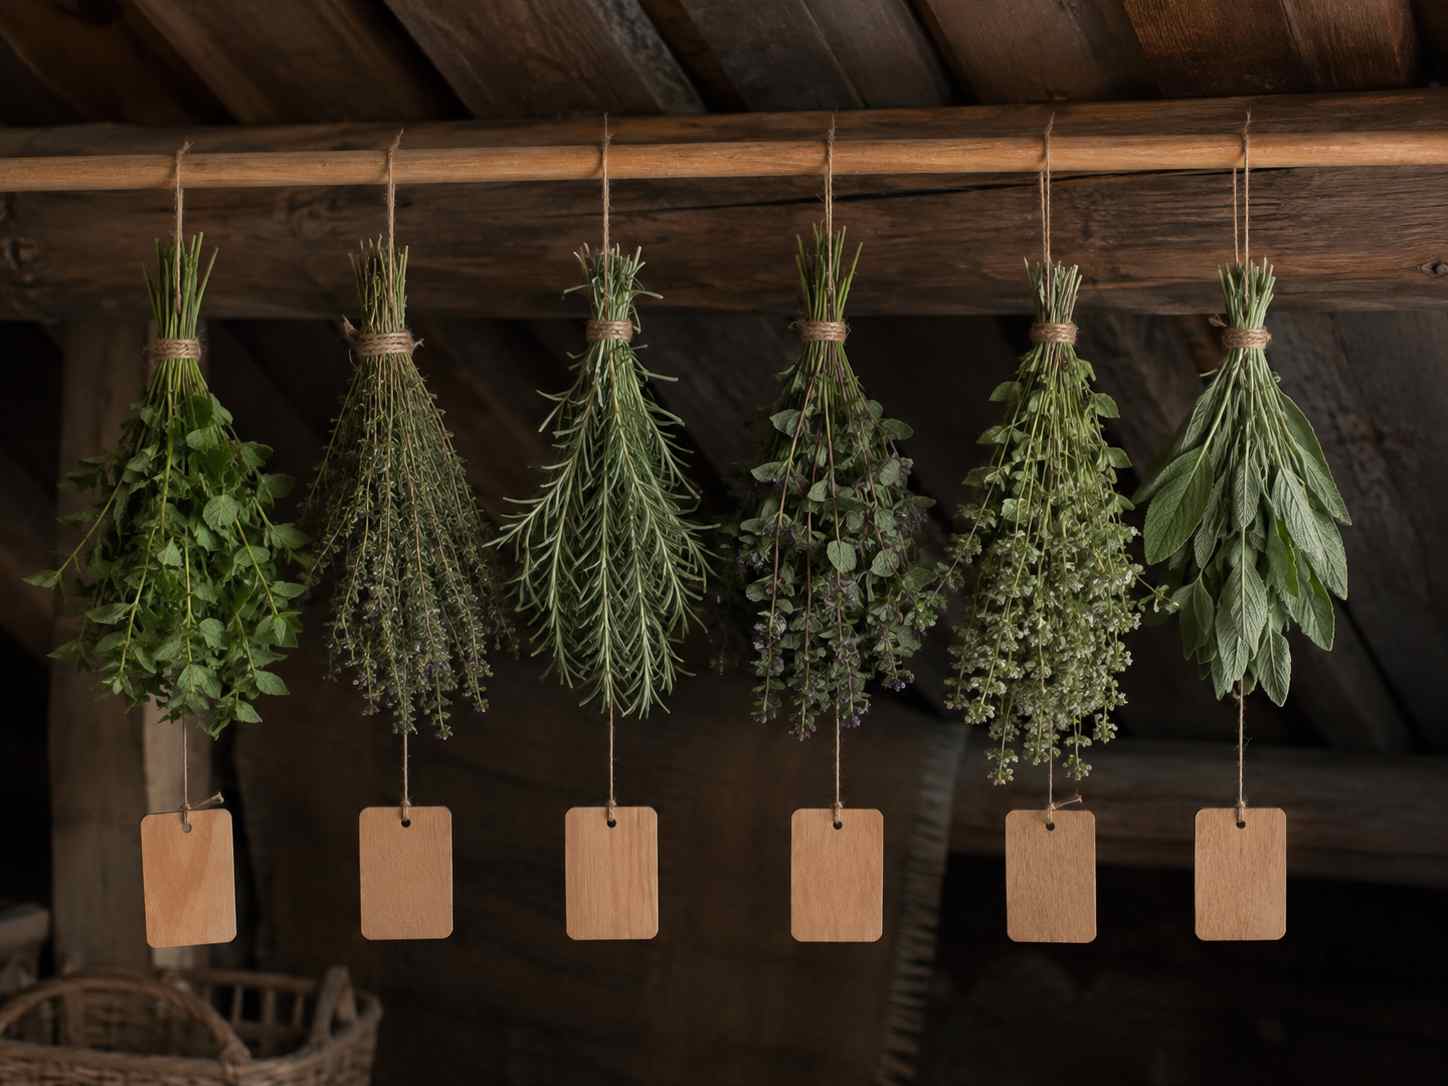
Tip from the workshop: Tie the string tighter than seems necessary. Herbs lose up to eighty per cent of their volume as they dry, and a loosely tied bunch will slip out of its knot after a few days. If you dry several varieties at once, you will appreciate wooden labels hung next to each bunch – once dried, oregano and marjoram look more alike than you would expect.
4. Dry in the shade with good airflow
Hang the bunches flowers down in a place that meets three conditions: darkness, air circulation and a temperature of up to thirty-five degrees. A classic Czech loft under the roof is ideal for this, but a dry storeroom, garage or cellar corridor will do too.
Why upside down? Residual moisture and essential oils travel to the tips of the leaves and the result is more aromatic. And why not in the sun? Direct light breaks down pigments and essential oils – the herb turns grey and loses its flavour. Drying on a windowsill looks nice in photos, but it is the quickest way to lose the aroma.
Smaller amounts of leaves, petals or seeds can also be dried flat – spread them in a single layer on a breathable surface and turn them once a day. A wooden crate lined with clean fabric works well, as the wood itself helps draw away moisture.
5. Check for dryness and store
After a week, do a test: take one stem and bend it. A dry herb snaps with a quiet crack; one that isn't fully dry bends. A leaf should crumble between your fingers, not crumple. If in doubt, dry for two more days – residual moisture in the jar means mould within a month.
Store herbs whole, not crushed, if possible. In a whole leaf the essential oils remain sealed and are only released when you crumble it into the pot. A crushed herb loses its aroma within a few weeks.
The best container is a jar with a lid kept in a dark cupboard, or an opaque tin. Paper bags work for short-term storage but don't protect against moisture. Whatever you choose, write the variety and year of harvest on the container. In two years' time you won't remember.
Four mistakes that will cost you your harvest. Don't dry herbs in direct sunlight – it looks romantic, but it destroys the colour and essential oils. Don't make bunches too thick, as the middle will sweat and go mouldy. Don't put them in a jar until you are sure they are completely dry. And don't dry them in the kitchen above the cooker – steam from cooking and food smells will reliably soak into them.
How long each herb needs
Drying time varies with how much water the plant contains. Fleshy leaves dry more slowly than thin needles. The following table applies to drying in bunches at normal room temperature with good air circulation.
| Herb | When to harvest | Drying time | Note |
|---|---|---|---|
| Mint and lemon balm | Before flowering | 7 to 10 days | Dry whole, crush leaves only before use |
| Thyme | At the start of flowering | 5 to 7 days | Dries quickly, the leaves separate easily |
| Oregano | During flowering | 7 days | Dry the flowers together with the leaves |
| Basil | Before flowering | 10 to 14 days | Fleshy leaves, watch out for mould |
| Rosemary | Any time during the season | 5 to 7 days | Dry whole sprigs |
| Parsley leaves | Continuously | 7 to 10 days | Keeps its aroma for a shorter time, use within a year |
| Lavender | At the start of flowering | 10 days | Harvest in completely dry weather, otherwise it turns brown |
What helps with growing and drying
The herb year starts with sowing and ends with a jar in a dark cupboard. Here are three categories from our workshop that are useful at both stages. If you are just starting out, also take a look at our guide on how to grow herbs on a balcony or our overview of Czech herbs and where they grow.


Frequently asked questions
How can I tell that herbs are dry enough?
Take one stem and bend it. A dry herb snaps with a quiet crack; one that isn't fully dry is springy and bends. The leaf should crumble between your fingers. If you are not sure, dry for two more days – moisture in the jar means mould.
Can I dry herbs in the oven?
Yes, but it is an emergency solution. Set the lowest possible temperature, ideally below forty degrees, leave the door ajar and check the leaves every half hour. Higher temperatures evaporate the essential oils and leave only coloured crumbs without aroma.
How long do dried herbs keep?
Leafy herbs such as mint, lemon balm or basil keep their aroma for about a year. Seeds and roots last two to three years. Storage in the dark, in dry conditions and in a closed container is decisive – in the light they lose colour and potency much faster.
Should I wash herbs before drying?
Better not. Water significantly prolongs drying and increases the risk of mould inside the bunch. If the plants are muddy, rinse them briefly and dry them carefully in a tea towel before tying.
Can basil be dried, even though it is said to lose its flavour?
Yes, but bear in mind that dried basil will never be like fresh – its essential oils are very volatile. Dry it in very thin bunches and use it within six months. To preserve its flavour for longer, it is better to freeze basil in cubes of oil.
What can I get from you for growing and drying herbs?
In our sheltered workshop we make wooden planters and flower pots for growing, plant stakes and labels for marking each variety, and crates and containers suitable for drying and storage. All made from native wood.
🌳 Herbs from sowing to the pantry. Planters, name stakes, crates and containers for your harvest – handmade from Czech wood.
Go to Garden and BarbecueAuthor: Martin Portych – specialist in wooden products, gift advice and shop content
Editorial policy: Our content is based on the day-to-day practice of the AMADEA shop, the real needs of our customers and a commitment to clear, useful and trustworthy information.