
The Czech winter doesn't harm wood through frost but through fluctuation – water gets into the fibres, freezes, expands, and with the next thaw the whole cycle starts again. That is why wood cracks in February, not in December. Winterising wooden planters and decorations takes one afternoon and decides whether they last three years or fifteen.
Before you start. Choose two or three dry days in a row, ideally at the end of September or in the first half of October – oil needs warmth and dry weather to cure. Get ready a brush with stiff bristles, a scraper for leftover soil, exterior wood oil and a cloth or brush. A few blocks or pads to put under the containers and a piece of breathable fabric will also come in handy. For an ordinary garden, allow two to three hours of work.
Winterising step by step
The whole process rests on a simple principle: get the wood into winter dry and don't let it stand in water. Everything else is just the practical application of that sentence.
1. Empty and clean the containers
Remove dead annuals and old soil. Remnants of roots and decaying plants hold moisture right against the wood, and that is exactly where rot begins. Scrub the inside and outside with a brush; a scraper helps with caked-on soil.
Then let the container dry out thoroughly for several days. Oiling damp wood is worse than not oiling at all – you seal the moisture in and find mould in spring.
Raised beds are different. They are not emptied – the soil supports the structure and the frost can actually be put to good use. Just clean the top edges and cover the soil surface with mulch or grass clippings so that winter rain doesn't wash out the nutrients.
2. Check the joints and any damage
Take an extra ten minutes for this part. Most failures of wooden containers don't start with a cracked board but with a loose joint that lets water in. For a year nothing happens, in the second year moisture lingers there, and by the third year the wood is soft. Tightening one screw in autumn is the cheapest maintenance I know.
Autumn is the only time of year when your containers are empty and you can see them from all sides. Make the most of it. Go over the edges, bottoms and screwed joints and tighten any loose screws.
Look out for places where the wood is darkening, softening or flaking. Press them with a fingernail – if it sinks in, rot is starting. You can fix minor damage by sanding and thorough oiling. Anything bigger is a sign that you will need to replace the part in spring.
3. Apply exterior oil
This is the step with the biggest effect of the whole process. Oil creates a barrier in the surface layers that slows the penetration of water – and water in the fibres is exactly what tears wood apart in frost.
Apply the oil in a thin layer with a cloth or brush, paying special attention to the end grain and bottom edges. End grain absorbs water many times faster than the face of a board, and the bottom edges stand in meltwater – that is precisely where wood usually fails first. Let it soak in and wipe off the excess.
Use oil intended for exterior use, not the one for kitchen chopping boards. Exterior products contain UV and anti-mould components that wood needs outdoors. You will find them among our accessories for flower pots and planters.
🍂 Need to replace your planters? Autumn is the cheapest time to buy. We make wooden planters and flower pots from Czech wood by hand in our workshop.
Browse planters and flower pots4. Lift the containers off the ground
If you take away only one thing from this guide, make it this. Of all the steps it has the best ratio of effort to result – and you can manage it even if you missed the winterising window and it is already freezing outside.
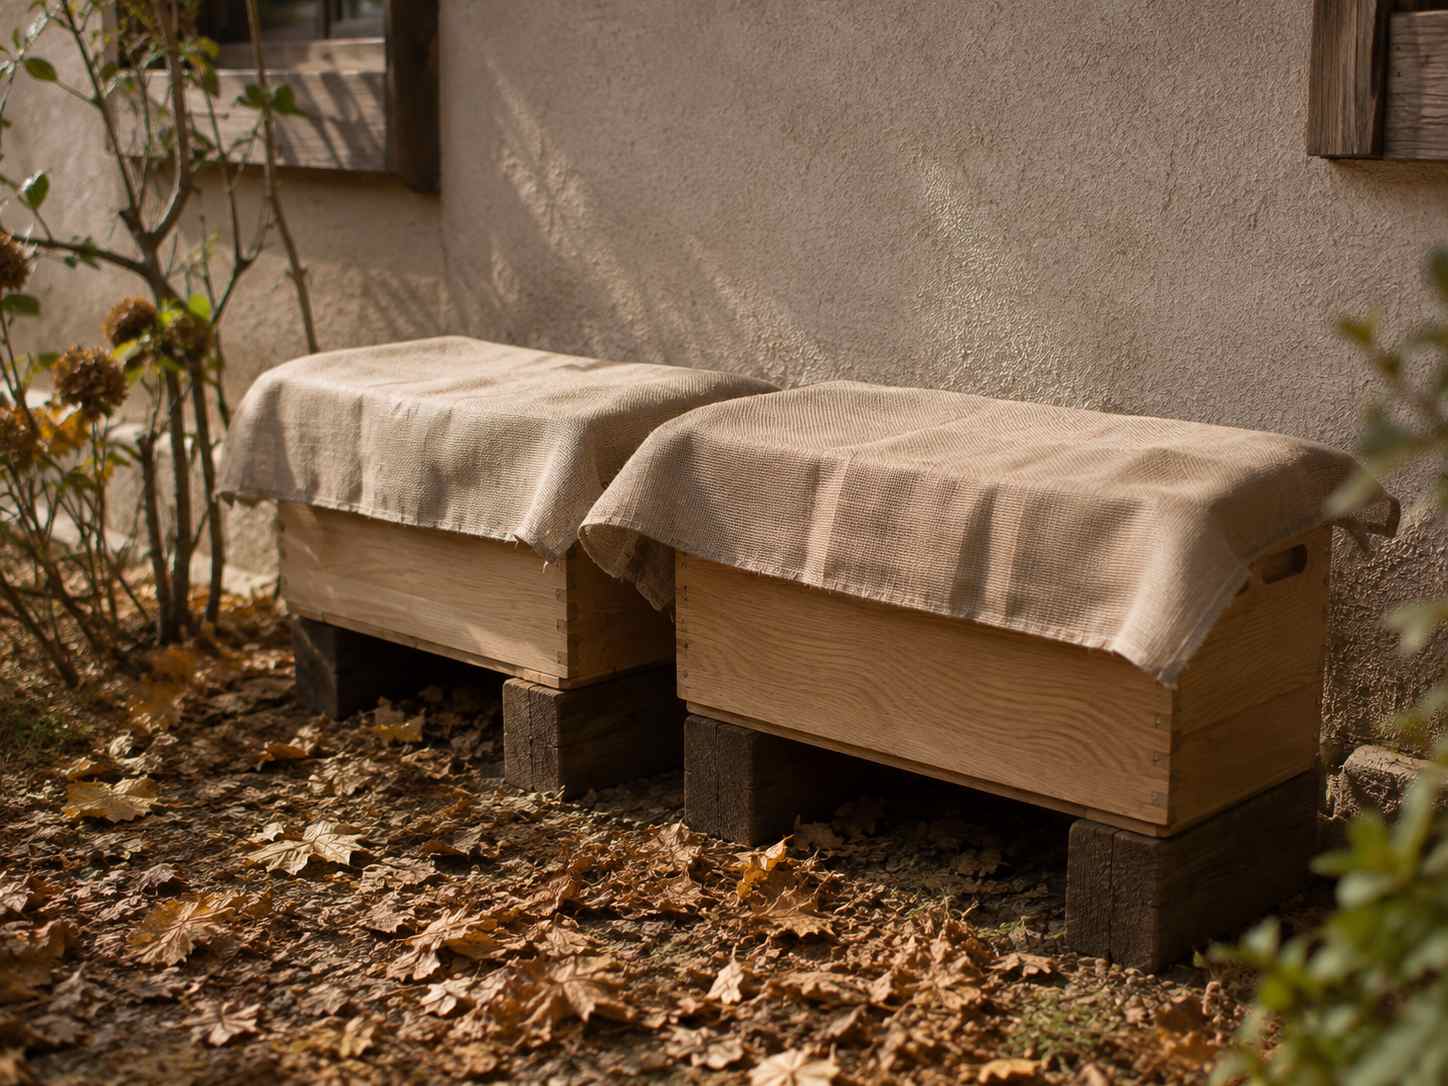
It is the most underestimated step of all. A planter standing directly on paving or soil draws up moisture from below and never dries out – and the bottom board is usually the first thing to rot.
A few blocks, bricks or spacer pads that lift the container by two or three centimetres are enough. Air gets under the base, meltwater drains away and the wood has time to dry out between thaws. It is a five-minute job.
5. Bring smaller decorations under cover
Signs, lanterns, plant stakes, small decorations and anything thin-walled belong in a shed, garage or loft over winter. It is not about the frost – frost itself does not harm dry wood. It is the combination of moisture and fluctuating temperatures, which thin wood tolerates far worse than a solid planter.
Store them in a dry, ventilated place, not directly on a concrete floor. A wooden crate or simply a shelf will do. While you are at it, sort out your herb name stakes – you will be glad of it in spring.
6. Cover with something breathable, not plastic sheeting
Whatever stays outside should be covered with a breathable fabric – horticultural fleece, jute or an old bed sheet. The aim is to deflect rain and snow, not to seal the wood in airtight.
Plastic sheeting and non-breathable tarpaulins are the worst choice. Moisture evaporating from the wood underneath has nowhere to go, condenses and returns. Wood under plastic stays permanently wet all winter and ends up worse off than if you had left it completely uncovered.
Five mistakes that only show up in spring. Don't oil damp wood – you seal the moisture in. Don't leave containers standing directly on the ground or in a puddle. Don't cover wood with plastic sheeting or a non-breathable tarpaulin. Don't leave old soil with root remnants in planters, as it holds moisture. And don't put it off until November – after the first frosts the wood is already saturated and the oil has nowhere to penetrate.
Tip from the workshop: Write down what you treated this year and where you found damage. By spring you won't remember, and a joint neglected three years in a row is exactly what destroys a planter. A dated note on your phone is enough. If you are interested in looking after planters during the season too, have a look at our guide on how to care for wooden planters.
What to do when – an autumn calendar
Winterising is not a one-off job but several steps spread over six weeks. If you do them in the right order and at the right time, each takes just a few minutes.
The dates apply to typical lowland conditions. In the mountains and at higher altitudes, move everything about two to three weeks earlier.
| Period | What to do | Why now |
|---|---|---|
| End of September | Empty and clean containers | It is still warm enough for them to dry out |
| Turn of September and October | Check joints, minor repairs | The containers are empty and easy to inspect |
| First half of October | Oiling | The last reliably dry days |
| Mid-October | Raise containers on pads, store decorations | Before the first night frosts |
| End of October | Cover with breathable fabric | Persistent autumn rains begin |
| February to March | Post-winter check | Most damage occurs during February thaws |
What you will need
Incidentally, autumn is also a good time to buy. Demand for garden items drops in autumn, and in spring, when everyone rushes into the garden, stock tends to run low.


Frequently asked questions
When is the best time to winterise wood in the garden?
The end of September and the first half of October are ideal, when it is still warm and dry enough for the oil to cure. After the first frosts the wood is already saturated with moisture and treatment loses its point. Choose two or three dry days in a row.
Do I have to bring planters indoors for the winter?
No, as long as they are made of quality wood, well treated and not standing in water. Raise them on pads so that air can circulate around them on all sides. Small decorations, signs and lanterns, however, are better stored under cover.
Can I leave the soil in a raised bed over winter?
Yes, and it is actually better than emptying it. The soil supports the structure and frost benefits it – it breaks up clods and reduces some pests. Cover the surface with mulch or grass clippings so that winter rain doesn't wash out the nutrients.
Why shouldn't wood be covered with plastic sheeting for winter?
Non-breathable sheeting traps moisture underneath, with nowhere to evaporate. The wood stays permanently wet, goes mouldy and softens faster than if it were completely uncovered. Use a breathable fabric instead.
What if I didn't manage to winterise in time and it's already freezing?
Postpone the oiling until spring – there is no point applying it to frozen, damp wood. But there are things you can do at any time: empty the containers, lift them off the ground onto pads and bring small decorations under cover. It takes an hour and prevents most of the damage.
What wooden garden products do you offer?
In our sheltered workshop we make planters and flower pots, raised beds, crates and boxes, and other accessories in our Garden and Barbecue category. Everything is made from wood from Czech forests, including accessories for their maintenance.
🌳 Wood that survives the winter. Planters, raised beds and garden accessories made from Czech wood – handmade in a sheltered workshop.
Go to Garden and BarbecueAuthor: Martin Portych – specialist in wooden products, gift advice and shop content
Editorial policy: Our content is based on the day-to-day practice of the AMADEA shop, the real needs of our customers and a commitment to clear, useful and trustworthy information.